
Quick Summary
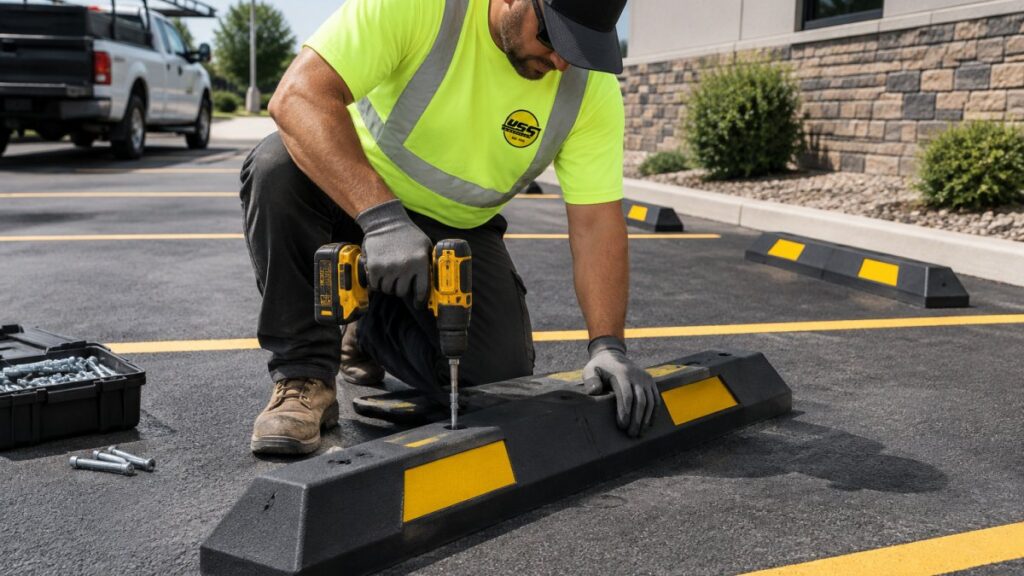
Wheel stop installation starts with matching the anchor to both the stop material and the surface, since the wrong fastener is the most common cause of stops shifting. Mark stall positions and setback, drill straight anchor holes, clean each hole thoroughly, then tighten fasteners to the manufacturer’s torque specification.
- Match the anchor to both the stop material and the surface type.
- Probe the depth on thin asphalt before ordering anchors to avoid hitting nothing solid underneath.
- Clean every drilled hole, since dust prevents epoxy from bonding.
- Do not drive over new installations until the adhesive has fully cured.
- Tighten fasteners to the manufacturer’s torque specification to avoid cracking concrete stops.
Table of Contents
- What You Need Before You Start: Materials, Tools, and Anchors
- Choosing Between Concrete and Rubber Parking Stops
- Wheel Stop Dimensions and Standard Sizing
- Planning Parking Lot Wheel Stop Placement and Layout
- How to Install Concrete Parking Stops, Step by Step
- Installing Rubber Wheel Stops and Checking Alignment
- Scheduling Your Wheel Stop Project With Utah Sealcoat & Striping
- Frequently Asked Questions
How to Install Parking Lot Wheel Stops Step by Step
Last Updated: November 7, 2026
What You Need Before You Start: Materials, Tools, and Anchors
Installing a parking lot wheel stop depends on matching the anchors and the surface to the job, and a clear wheel stop installation plan starts with those choices.
Wheel stops and layout materials
- Wheel stops: concrete, rubber, or plastic, sized for your stall layout
- Chalk line, measuring tape, and marking paint for stall position
- Site plan or striping layout showing stall lines and accessible spaces
Tools
- Rotary hammer drill with masonry bits sized to the anchor diameter
- Wire brush and shop vacuum to clear dust from each hole
- Torque wrench to tighten fasteners to the anchor manufacturer’s specification
- Hammer, socket set, and safety glasses
- Mechanical lifting equipment or a helper for concrete stops
Anchors and adhesives
- Rebar pins for precast concrete stops on asphalt or concrete
- Epoxy-set threaded rods for high-load or high-traffic stops
- Expansion anchors for solid concrete substrates
- Anchoring adhesive with a cure time that matches your schedule
- PPE: eye protection, hearing protection, and gloves
Anchor selection by stop material and surface
The anchor has to hold the stop against lateral impact and vibration, so match it to both the stop and the substrate.
| Stop material | Asphalt surface | Concrete surface | Paver surface |
|---|---|---|---|
| Precast concrete | Rebar pins driven through the stop into the base; epoxy-set rods where the asphalt is thin | Expansion anchors or epoxy-set threaded rods | Remove paver, anchor into base, reset paver |
| Rubber | Longer bolts or pins through pre-drilled holes into the base; more anchors per stop | Expansion anchors or epoxy-set rods | Anchor into the paver base, not the paver face |
| Plastic | Pins or bolts into the base; avoid over-tightening | Expansion anchors sized to the stop’s holes | Anchor into base; avoid cracking the paver |
A few rules of thumb keep the selection simple. Asphalt is softer and can soften further in summer heat, so anchors should reach the base layer rather than rely on the asphalt alone.
Watch out: drilling into thin asphalt and hitting nothing solid underneath is a common failure.
Match the anchor to both the stop and the surface. A rubber stop needs a different fastener than a precast block, and an asphalt surface needs a different approach than concrete.
Choosing Between Concrete and Rubber Parking Stops
Concrete stops are a durable option for high-traffic commercial lots, and they are often chosen where heavy vehicles are common. Compare our wheel stop products to see which material fits your lot. They rarely move once anchored and handle heavy vehicles well. Their weight makes them harder to install, though, and a damaged corner can be costly to replace.
Rubber stops are lighter, easier to move, and forgiving if a vehicle hits them. They suit lower-traffic areas, reserved spaces, and locations where a softer bump matters. They usually need more anchors per stop to stay put.
Plastic stops fall between the two. They are inexpensive and light but tend to crack under repeated impact in cold weather.
Consider these factors when you decide:
- Traffic volume: Heavy use favors concrete
- Installation effort: Rubber and plastic are easier to handle
- Impact tolerance: Rubber absorbs hits better
- Budget: Pricing depends on quantity, dates, and delivery, so request a current quote from Utah Sealcoat & Striping for your project
Wheel Stop Dimensions and Standard Sizing
Most commercial wheel stops are sized to stop a standard passenger vehicle before its bumper reaches a wall, sidewalk, or landscaped area. Our ADA and striping standards guide covers the requirements that govern stop placement and accessible spacing. Stop height and length determine how well they perform, so measure the stall before you order.
Check these measurements:
- Stop length: Long enough to cover the width of the tire
- Stop height: Tall enough to engage the tire but low enough to avoid damaging bumpers
- Setback distance: The gap between the front of the stall and the stop, which depends on the vehicle and the adjacent obstacle
Confirm the final dimensions with your site plan and the property’s requirements before you purchase. Accessible spaces and pedestrian routes may need different placement, which is covered below.
Planning Parking Lot Wheel Stop Placement and Layout
Good placement starts on paper. Sketch each stall, mark the striping lines, and note any obstacles such as light poles, curbs, drains, and walkways.
Follow this sequence:
- Identify the stall lines. Locate the striping that defines each space.
- Measure the setback. Mark where the front of the stop should sit relative to the stall end.
- Check pedestrian clearance. Keep walkways and accessible routes unobstructed.
- Confirm alignment. Stops should run parallel to the stall and sit centered on the parking space.
Accessible parking has its own rules. Accessible parking is governed by the ADA Standards for Accessible Design, so review the current standards before you mark anything near an accessible space. Our ADA compliance guidance explains how these requirements affect layout planning.
How to Install Concrete Parking Stops, Step by Step
Concrete stops are the most common choice for commercial lots because they resist movement and handle heavy vehicles well. The steps below apply to most precast concrete stops anchored to asphalt or concrete, with surface-specific notes where the method changes.
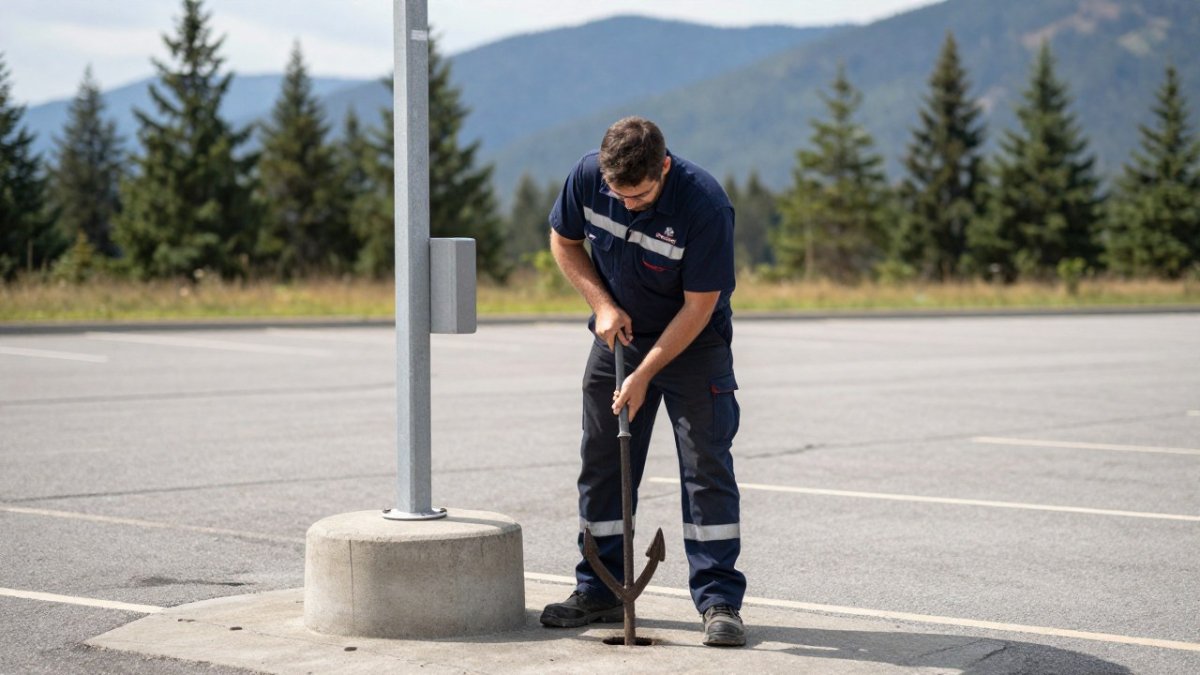
- Mark the position. Snap a chalk line along the stall and mark each stop’s location. Confirm the setback from the front of the stall and check that the stop will not block walkways or accessible routes.
- Prepare the surface. Clean the area and check for cracks, loose material, or standing water. On asphalt, avoid drilling when the surface is hot and soft; early morning is usually better.
- Set the stop in place as a template. Position the stop on your chalk line and mark the anchor holes through its pre-cast openings. Move the stop aside before drilling.
- Drill the anchor holes. Use a rotary hammer with a masonry bit sized to the anchor diameter. Drill straight and slightly deeper than the anchor length so debris can settle below it. On asphalt, drill through the asphalt and into the base layer where possible.
- Clean each hole. Remove dust with a wire brush and shop vacuum. Dust prevents epoxy from bonding, so clear every hole thoroughly.
- Set the anchors. Insert and secure anchors as specified for your surface and fastener type. For epoxy-set rods, fill the hole, insert the rod, and let the adhesive cure before loading the stop.
- Position the stop. Lift the stop into place, aligning it with your chalk line. Use mechanical lifting equipment or enough helpers, and keep hands clear of pinch points as you lower it.
- Secure and check. Tighten the fasteners to the anchor manufacturer’s recommended torque and confirm the stop does not move when pushed.
Surface-specific anchoring notes
- Asphalt: Asphalt can soften in summer heat and crack in winter. Anchor into the base layer where possible, and allow the surface to cool before drilling. If the asphalt is thin, use a longer anchor or an epoxy-set rod that reaches solid base material.
- Concrete: Concrete offers the most stable anchoring. Use a masonry bit, drill straight to the required depth, and clean the hole before setting expansion anchors or epoxy.
- Pavers: Pavers can shift if the base is unstable. Remove the affected paver, anchor into the base below, and reset the paver around the stop. Do not anchor only into the paver face.
Curing and load restrictions
Do not drive vehicles over new installations until the adhesive has fully cured. Cure time depends on the product and temperature, so follow the label rather than guessing. In cool weather, cure times lengthen and the stop should stay unloaded longer.
Watch out: over-tightening fasteners can crack a concrete stop or strip an expansion anchor. Tighten to the manufacturer’s torque specification and stop when the fastener is snug.
Lifting precautions matter. A concrete stop can weigh several hundred pounds, so use mechanical lifting equipment or enough helpers. Keep hands clear of pinch points as you lower it into position.
Installing Rubber Wheel Stops and Checking Alignment
Rubber stops install faster but still need careful alignment. They are usually fastened with several bolts through pre-drilled holes.
- Lay out the stop. Position it on your chalk line.
- Mark the bolt holes. Use the stop’s holes as a template.
- Drill and clean. Create the holes and remove debris.
- Install the fasteners. Secure the stop with the supplied hardware or approved anchors.
- Check alignment. Measure from the stall lines on both ends to confirm it sits square.
Walk the stall after installation. Push the stop by hand, confirm it does not shift, and check that it does not block walkways or accessible routes.
Here is a quick reference for the main stop types:
| Stop Type | Best For | Installation Effort | Impact Tolerance |
|---|---|---|---|
| Concrete | Heavy commercial traffic | High | Moderate |
| Rubber | Lower traffic, reserved spaces | Low to moderate | High |
| Plastic | Light use, budget projects | Low | Low in cold weather |
Scheduling Your Wheel Stop Project With Utah Sealcoat & Striping
Many property managers would rather hand the job to a crew than schedule their own installation around busy hours. Utah Sealcoat & Striping works around client schedules and keeps communication open from the first walkthrough through final inspection. All of our services come with a warranty.
Planning ahead keeps the project on track. Share your site plan, parking counts, and any accessible space requirements early so we can confirm layout and timing. If your lot also needs resurfacing or fresh markings, our asphalt sealcoating services can be scheduled alongside the stop installation. You can also review our completed commercial projects to see how we handle lots similar to yours.
For a current price on your wheel stop project, contact Utah Sealcoat & Striping for a free quote.
Frequently Asked Questions
How do I install a wheel stop?
Mark the layout on the pavement first, then position the stop so its face sits at the planned setback from the front of the parking space. Drill anchor holes through the stop’s mounting holes into the surface, using a masonry bit sized to your fasteners. Set the anchors, confirm the stop is level and aligned with adjacent stops, and tighten fasteners to the manufacturer’s torque. Keep vehicles off the stop until the anchors are fully set and the surface has cured. Rubber and concrete stops follow the same basic sequence, though rubber stops often use a different anchor type.
Where should parking wheel stops be placed?
Wheel stops are typically set at a fixed distance from the head of each stall so the front tire stops before the curb, walkway, or landscaping. Placement should also keep pedestrian paths clear and avoid blocking drainage. Measure from the stall line rather than the curb edge so every stop in a row sits at the same distance. Confirm the layout against your site plan before drilling anything, because moving a stop after anchoring is far more costly than adjusting it during layout.
What tools and anchors are needed to install wheel stops?
Most installations require a chalk line, measuring tape, a rotary hammer or hammer drill, a masonry bit matched to the anchor diameter, a shop vacuum or air blower to clear drill holes, a torque wrench, and a level. Anchor selection depends on the stop material and the surface. Concrete wheel stops commonly use epoxy-set or mechanical anchors in concrete, while asphalt installations generally need longer anchors reaching into a compacted base. Check the stop manufacturer’s instructions for the anchor size and embedment depth they specify.
How long should you wait before allowing vehicles to use newly installed wheel stops?
Wait until the anchoring adhesive, if used, has reached the cure time listed by its manufacturer, which often ranges from several hours to a full day depending on temperature. Mechanically anchored stops can usually take traffic once the fasteners are tightened and the stop does not move under hand pressure. Keep vehicles off the new stops until the surface around them is firm, and mark the area with cones during the curing period.

